

Paver joint restoration
Restore More Than the Appearance.
Protect the Entire Paver System.
Missing joint sand is more than cosmetic. Professional restoration helps protect the paver system from water infiltration and deterioration while reducing weed growth and restoring a clean, finished appearance.
When paver joints deteriorate
It Starts Between the Pavers.
Most homeowners notice weeds, missing sand, or a worn appearance. What they don’t see is what’s happening beneath the surface. As joint material deteriorates, the installation becomes increasingly exposed to water infiltration, which can gradually erode the base and contribute to settlement, movement, and drainage issues.
When the underlying system remains suitable, restoring the joints early can preserve the existing pavers without replacing the entire installation and is often far more cost-effective than completing extensive repairs later.
Common conditions
 01
01Joint loss
Missing or washed-out joint material
Open or deteriorated joints are the clearest sign the jointing system needs attention.
- Missing joint material
- Loose material after rain or cleaning
- Dirt and debris collecting in open joints
 02
02Growth & activity
Weeds, ants, moss, and organic growth
Open joints create space for weeds, insects, moss, and organic buildup.
- Weeds between pavers
- Ant activity
- Moss and organic buildup
 03
03Surface condition
A worn or neglected appearance
Dirty, faded, or poorly filled joints can make otherwise serviceable pavers look much older.
- Weathered appearance
- Uneven or incomplete joints
- Staining or surface discolouration
Paver surfaces we restore
- Driveways
- Patios and outdoor living areas
- Walkways and pathways
- Pool decks
- Entrances and courtyards
- Concrete paverstone installations
- Natural stone paver installations
- Suitable permeable paver systems
Pool decks and other sensitive areas may require additional preparation and protective measures during cleaning and restoration to control debris and protect the surrounding property.
Restored Joints. A Renewed Surface.
Many paver installations can be restored rather than replaced, extending their lifespan and transforming a worn installation into one that looks renewed.
Deteriorated joints
Cleaned and renewed joints
Deteriorated joints
Cleaned and renewed joints
Method
Our Restoration Process.
Four phases and two site visits — a third when sealing is included — with a drying period in between that isn’t negotiable. Here is what each one involves.
- 01Phase 01 / 04
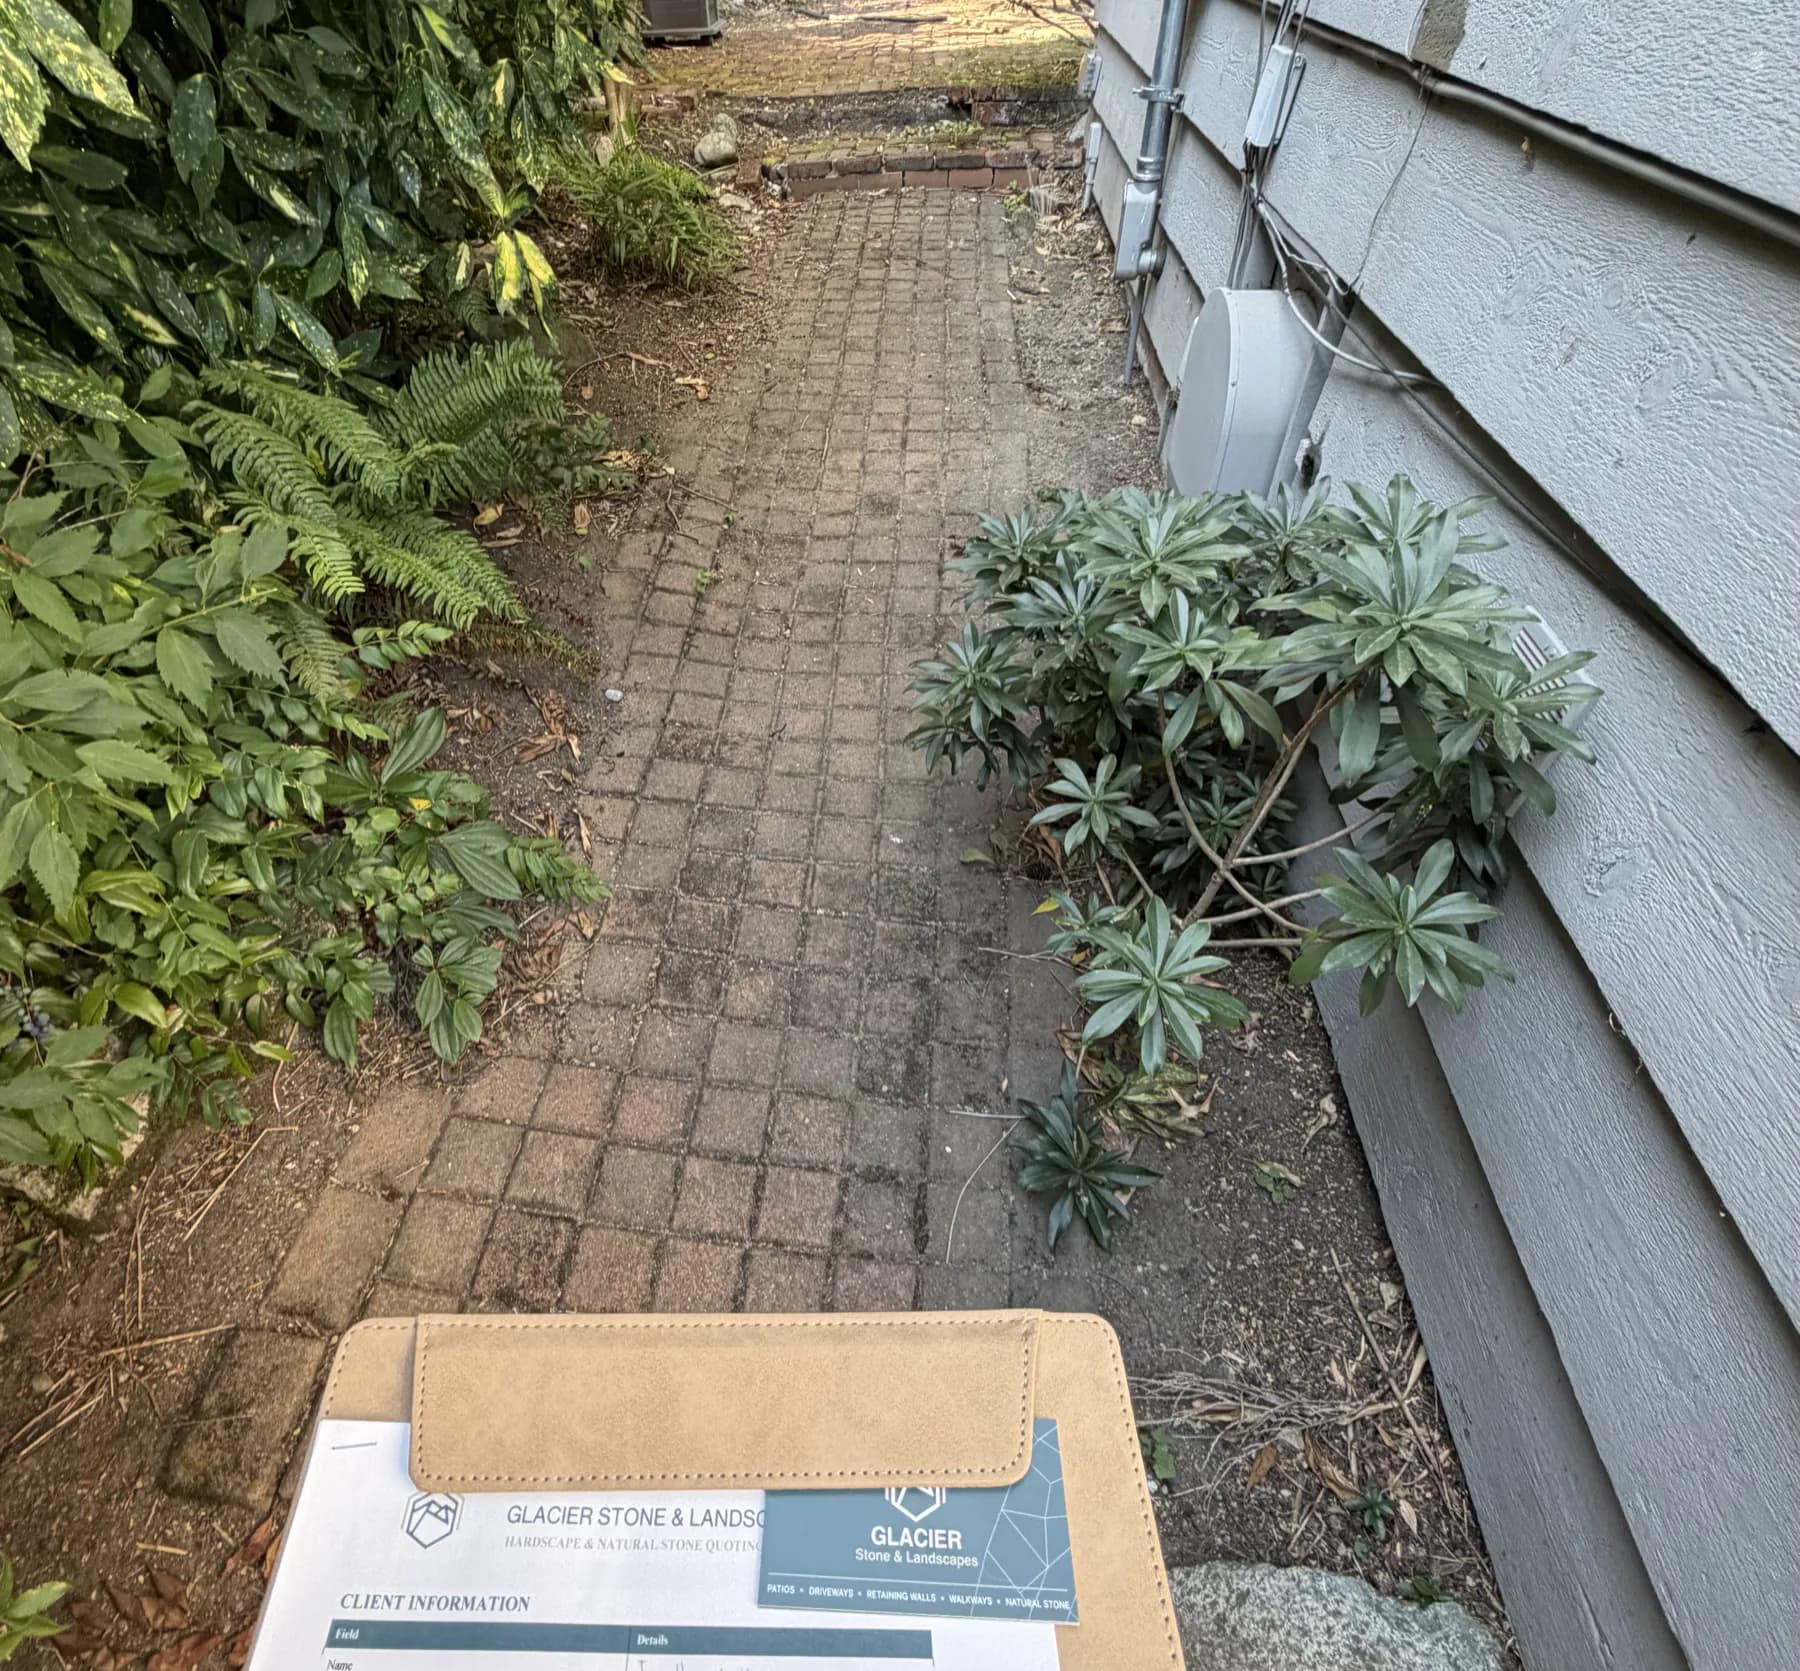
Existing Installation Assessment
Every restoration begins with a thorough assessment. We review the joints and pavers, look for settlement, damaged areas or failed edges, and discuss any drainage concerns or other conditions that may affect the restoration. This allows us to identify any repairs that may be recommended before proceeding and select the appropriate jointing material based on the existing paver system.
Materials selected for your installation
- Traditional concrete pavers
- G2 Polymeric Sand
- Permeable concrete pavers
- Nitro Joint
- Permeable natural stone
- Romex EcoFine
- 02Phase 02 / 04
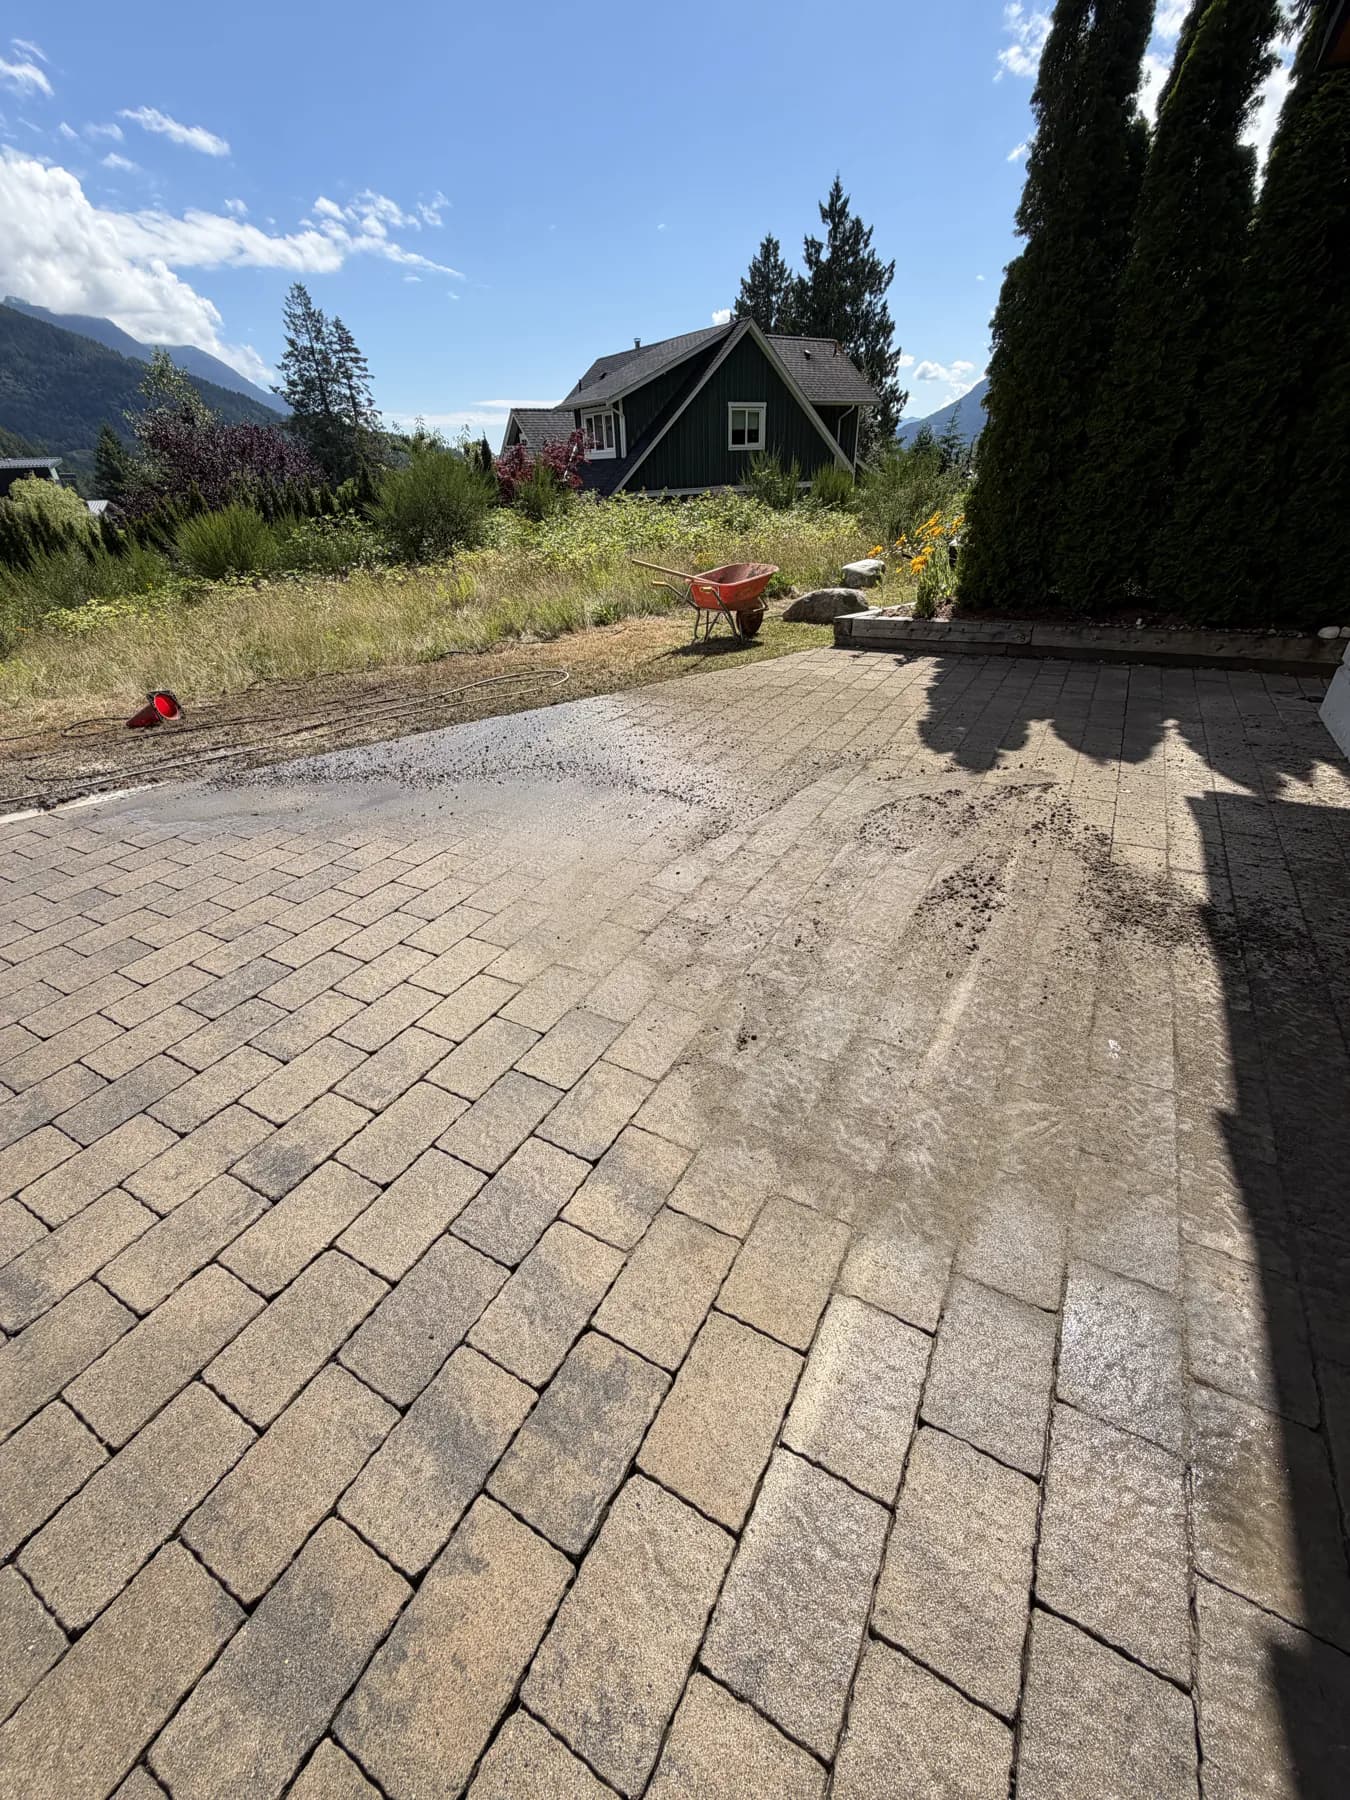
Surface Preparation
We thoroughly pressure wash the installation to remove dirt, organic growth, and deteriorated joint material. The joints are cleaned to the proper depth and inspected to make sure they’re ready for restoration.
- 03Phase 03 / 04
Joint Restoration
After a minimum drying period of 24 to 48 hours, weather permitting, we return to install the appropriate jointing material for the existing paver system. For concrete pavers, the polymeric sand is compacted using a specialized protective pad to prevent surface damage, replenished to properly fill the joints, then carefully cleaned and activated according to the manufacturer’s specifications.
- 04Phase 04 / 04Optional
Protective Sealing
Where sealing is selected, we return approximately 7 to 14 days later, once the jointing material has fully cured. A solvent-based acrylic sealer is applied to help protect against stains, UV exposure, weathering, and organic regrowth, while enhancing the appearance of the pavers. An anti-slip additive can also be incorporated where additional traction is desired.
Is joint restoration the right solution?
Joint restoration is most effective when the pavers and underlying system remain in good condition. Some installations may require repairs before the joints are restored.
Tick anything you can see on your own surface.
The surface remains generally stable.
Joint restoration is likely the right approach.
The pavers show movement or drainage concerns.
Repairs are likely needed before the joints are restored.
Nothing ticked yet — an on-site assessment is the reliable answer either way.
Questions
What to know before your restoration.
Find answers to common questions about pricing, repairs, timing, sealing, maintenance, and what to expect from your paver joint restoration.
A typical restoration includes an on-site assessment, pressure washing and joint preparation, installation of new jointing material, and final cleanup. Protective sealing can also be added as an optional final stage.
Ready to Restore Your Pavers?
Your existing pavers may have more life in them than you think.
Glacier Stone & Landscapes approaches restoration with the same attention to the underlying system that we bring to new hardscape construction — looking beyond the joints to the condition of the pavers, drainage, edges, and foundation.
An on-site assessment helps us determine whether restoration is the right approach and identify any repairs that may be needed first.